
If you have already created a new blog on Blogger, chances are you might want to know how to enhance its look and feel.
Well, to help you out, I am here with a step-by-step guide on how to customize a Blogger template like a pro.
In our previous guide, we have already learned how we can install a custom Blogger template, and now it’s the perfect time to learn how you can customize it.
Alright, without any further delay, let’s dive right in.
Table of Contents
Step-by-step Guide to Customize Blogger Template
If you have not yet installed a theme on your Blogger blog, you can follow my previous post & install a Blogger theme of your choice.
Throughout this post, I am customizing the theme “Kailasa Blogger Template” as I have previously installed it on bloomsweb.blogspot.com.
Further, it is always a good idea to backup your blogger template before making any changes. To back up your current theme, go to Blogger >> Theme >> Customize (Menu) >> Backup.
Below is the preview of how our blog is looking right now (before any customization) & at the end of this post, I have also shared a screenshot of how it looks after customization.
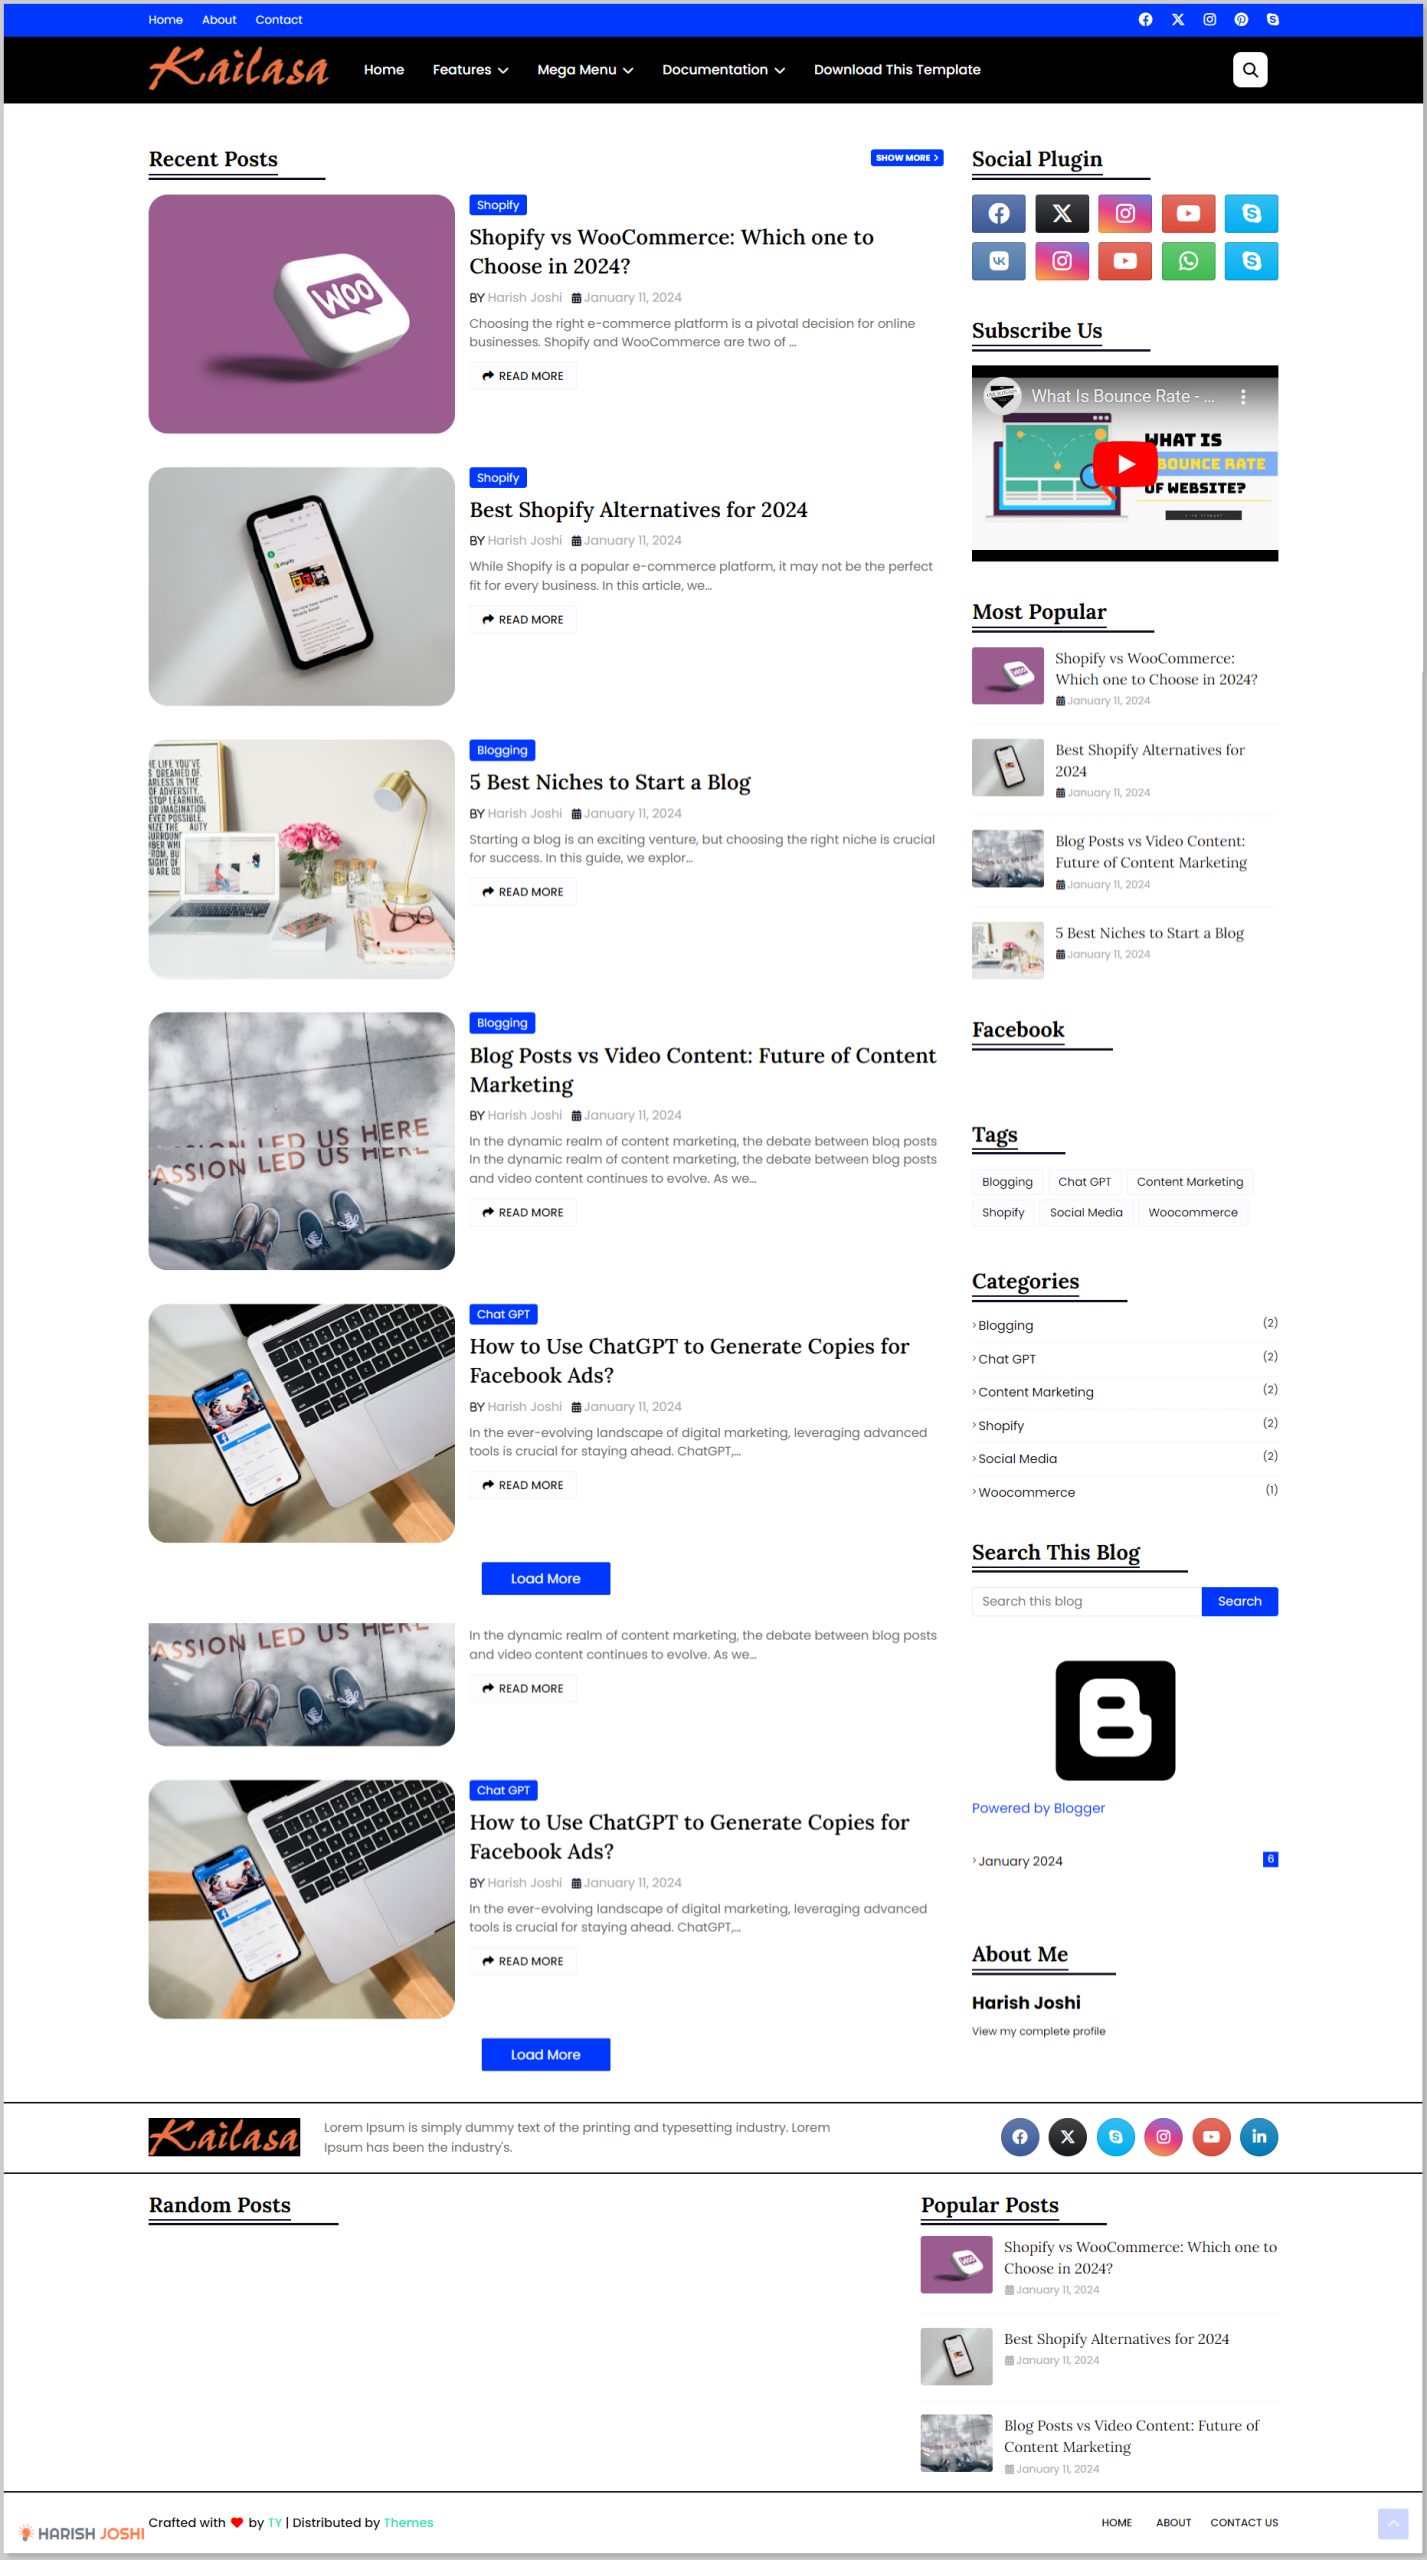
Alright, let’s move ahead one step at a time.
1. Logo & Footer Description
Logo is the identity of our business & I think we should start by updating it.
There are two places where you can see the logo:
- First, in the header
- Second in the footer
In order to update these logos, we have to visit Blogger Dashboard >> Layout
For header logo, visit Layout >> Header Logo & click on Edit icon as shown below:
Once you click on edit, a dialogue box will appear where you have to upload your own logo from your computer.
You can follow the below settings for best optimization:
- Image Placement: Instead of title and description
- Shrink to fit: Turn ON
In the same way, you can update the footer logo & blog description using below setting:
This is how you can update Logo & Footer description.
2. Website Header
I have already changed the logo of my blog; however, the website header still does not look good. I need to update the navigation menus and the colors according to my preferences.

Let us start by changing the links first.
In order to update the links, you have to visit Blogger >> Layout >> Top Navigation / Social Top / Main Menu.
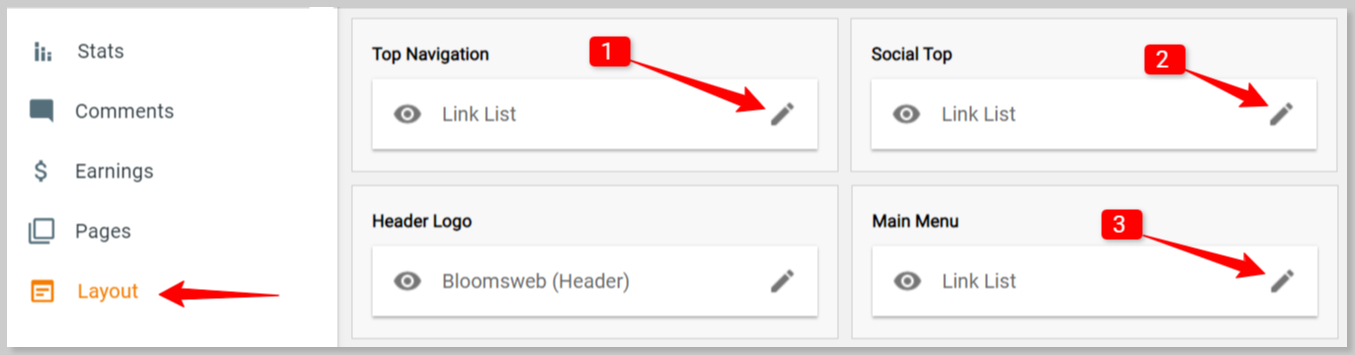
I am giving you the example of top navigation. You can follow the same to change links for Social Top & Main Menu.
Once you click on Edit Icon next to “Link List” under Top Navigation, a popup will appear, where you can configure this link list. (See the below screenshot)
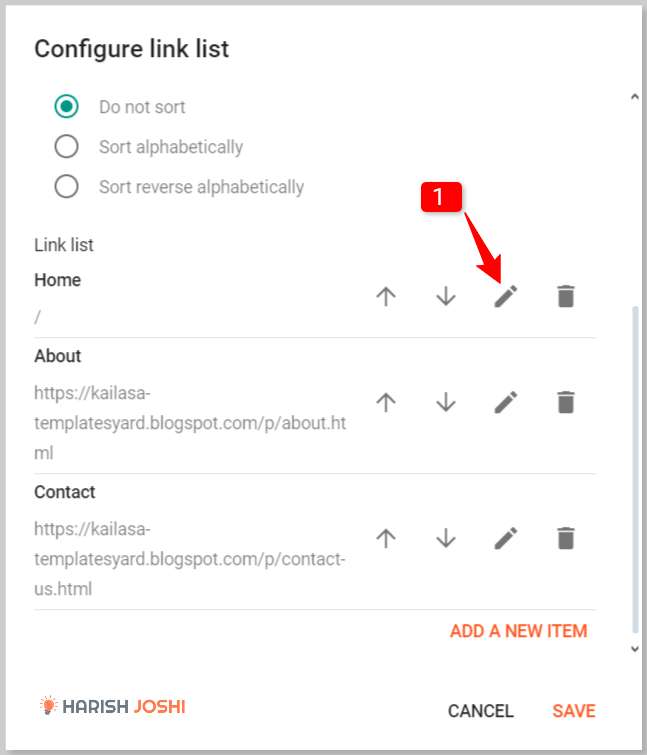
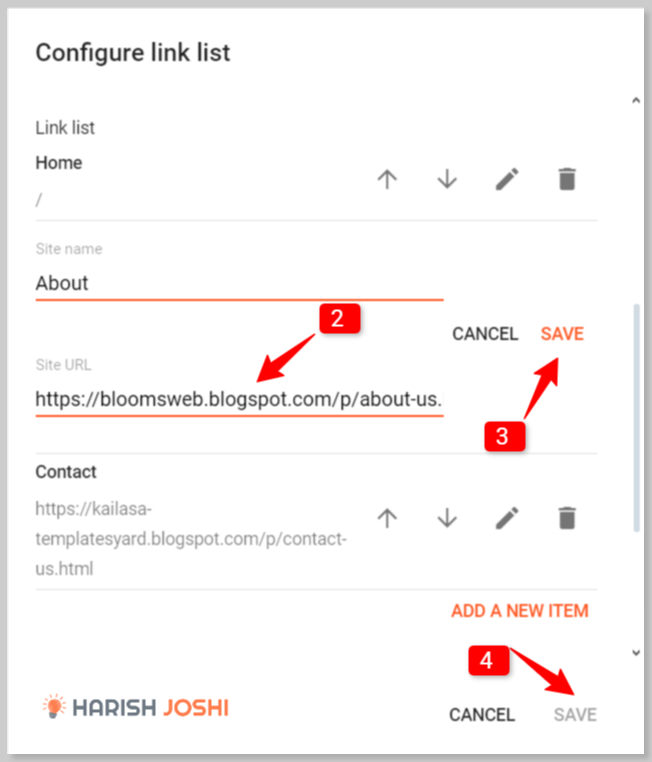
In the same way, you can update navigation links for Top Social & Main Menu.

Now, in order to change these colors, you have to visit: Blogger >> Theme >> Customise.
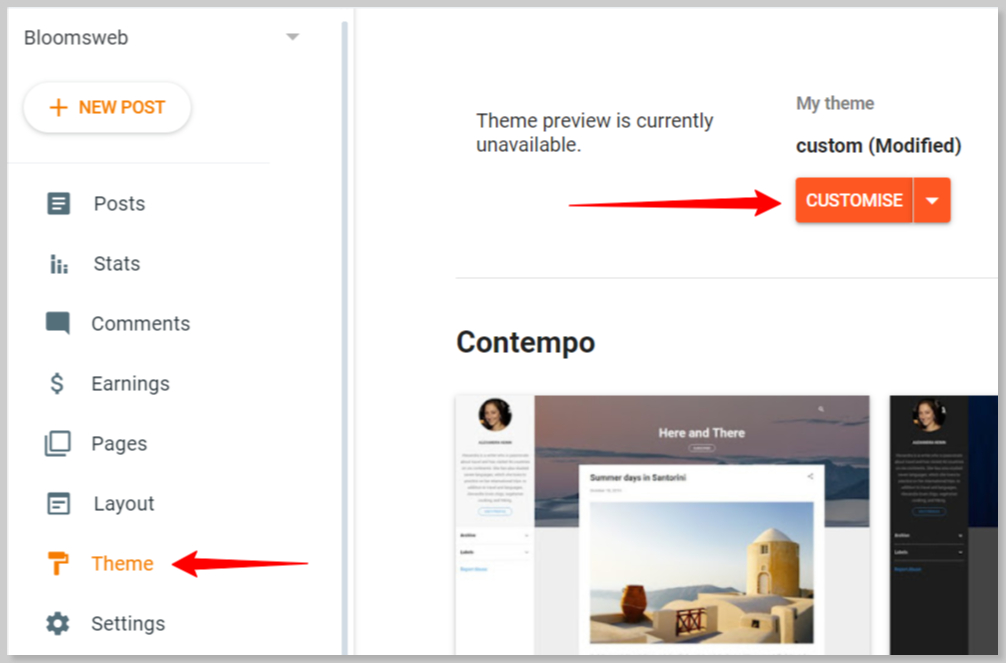
After clicking the Customise button, you will be redirected to a panel where you can play with the colors & changed the colors used in your theme.
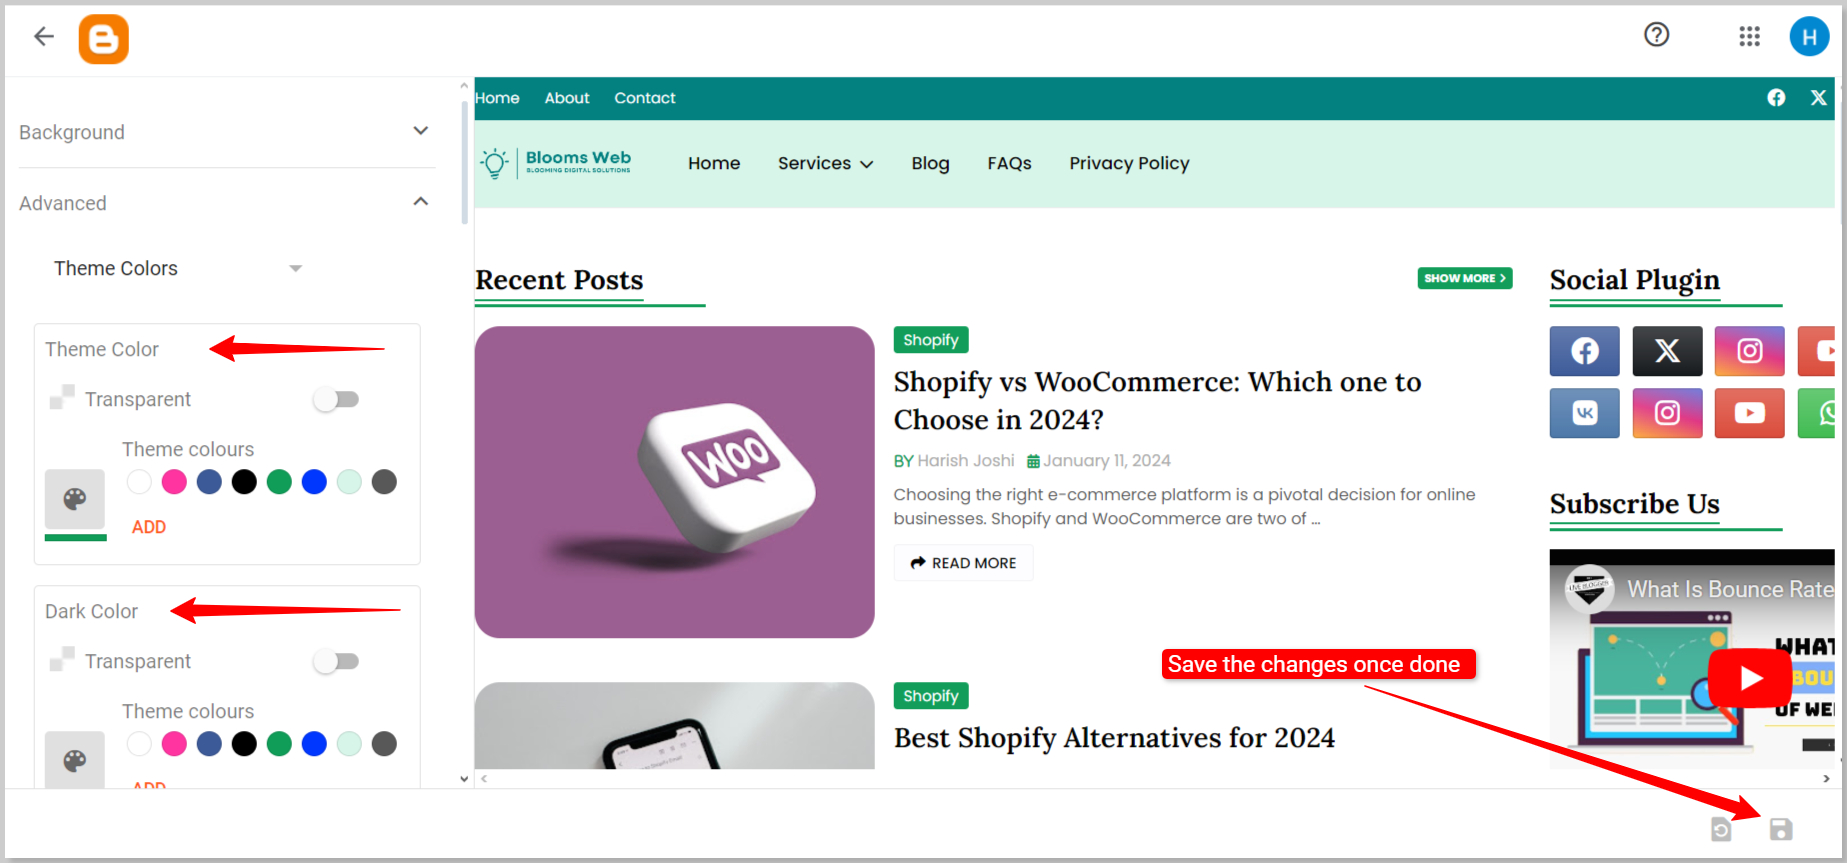
Following some customization, here is the design I have implemented for the navigation of my Blogger blog.

All you have to do is to use your brand colors & once you are satisfied with the colors, you can hit Save and publish changes.
3. Footer Customization
By default, the footer of Kailasa Blogger template looks like this:
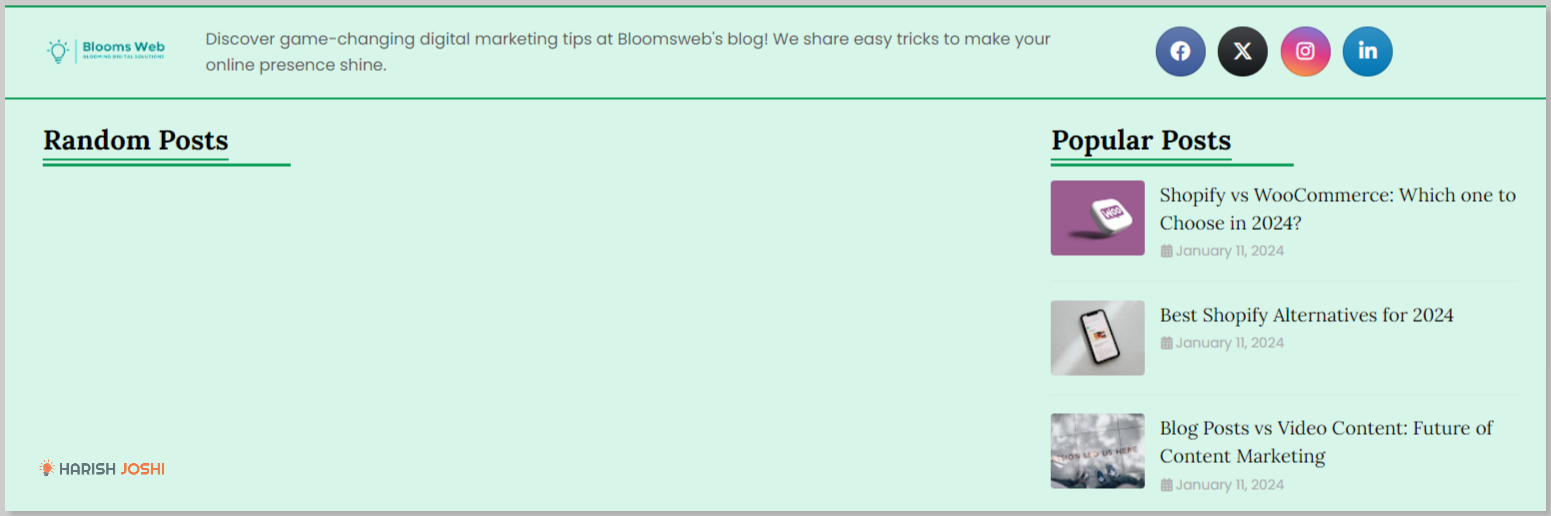
It’s quite empty & we have to add a few things to make it look more interesting (and obviously to fill the blank space).
I have planned to add these things:
- Services
- Quick Links
- Popular Posts
Let’s see how we can do that.
In order to customize the footer, visit Blogger >> Layout >> Edit the Widgets in Footer section.
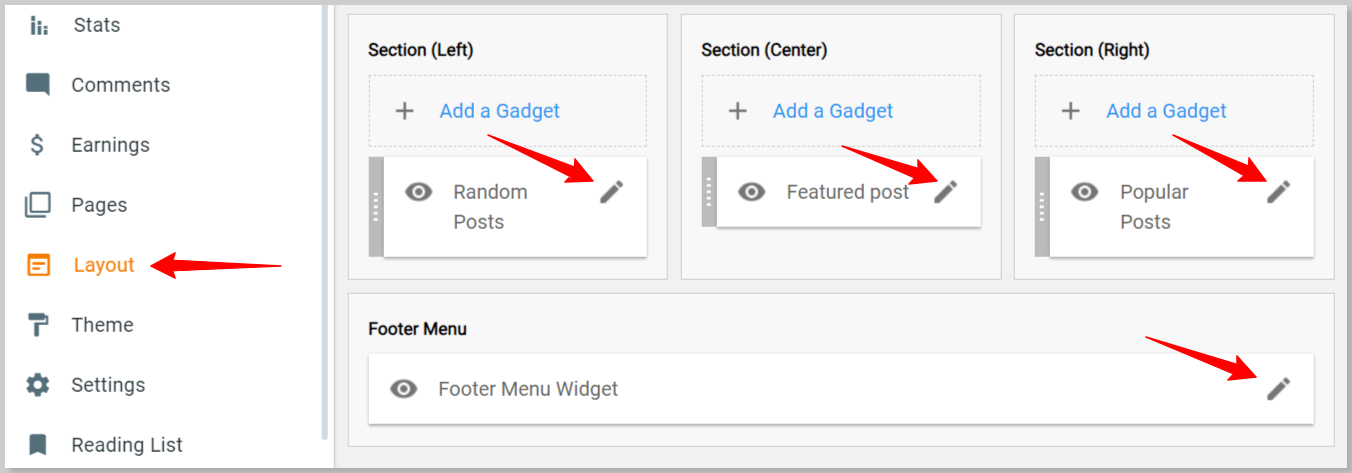
For adding new gadgets (widgets), we have to remove the old ones. For deleting simply click on Edit (pencil icon) & hit remove.
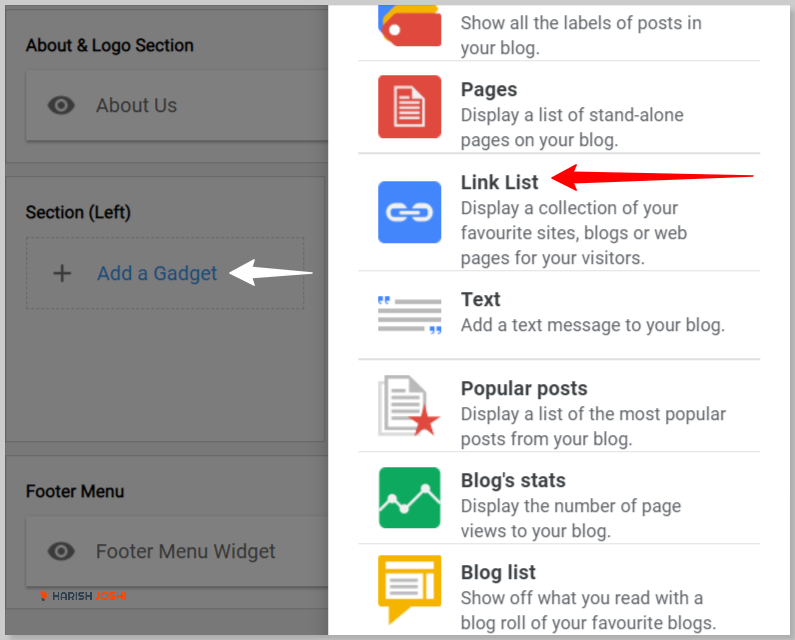
Now, if you want to add a new one, click on Add Gadget & select the widget of your choice.
In my case, I want to a services section (that will have a list of link to my services), so I am using a link list gadget as shown below.
Next, you have to add the title for the gadget, enter number of items & add links as shown below.
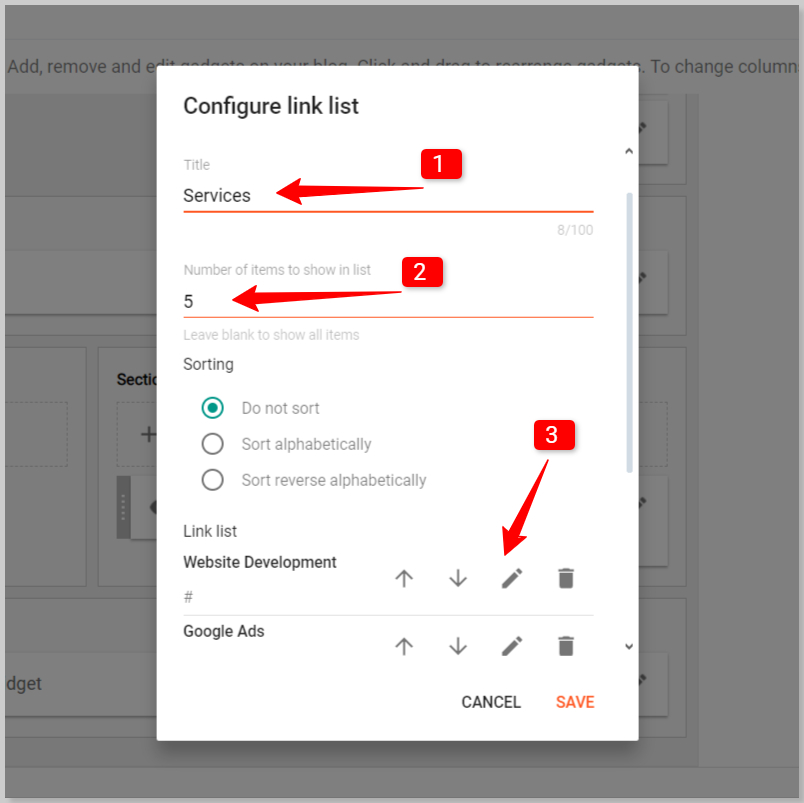
Hit save after you have finished adding the links.
In the same way, we can add “Quick Links” section. So I am not covering the second footer section in this blog. You have to do it yourself.
Alright, now we have to add a Popular Posts widget in the 3rd gadget space.
For this we have to first click on Add Gadget & than on Popular Posts.
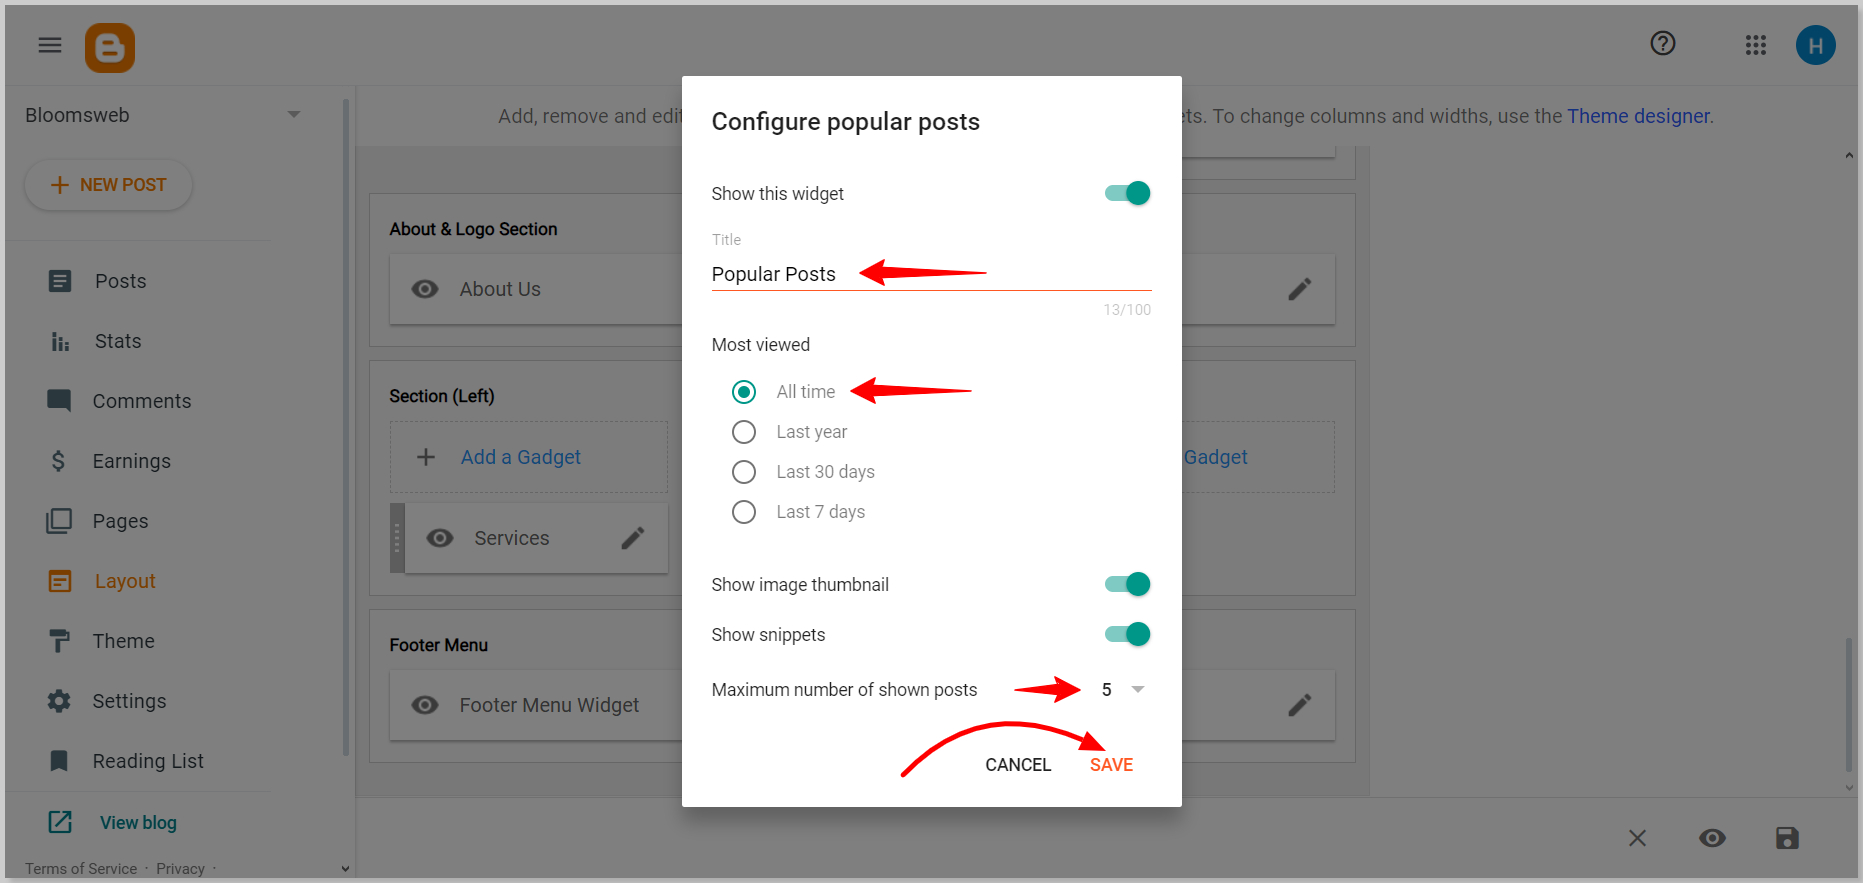
Change the Settings & Save.
This is how you can change the default Footer gadgets & add new one.
For my blog I have used these 3 gadgets. However, you are always free to test out other gadgets.
4. Sidebar Customization
Now, we have to move ahead & customize the Sidebar section of our blog. The sidebar is currently filled with a lot of gadgets which is not looking professional.
So, I have decided to remove all the widgets & add only these:
- About Me
- Search Widget
- Most Popular (10 posts)
- Categories &
- Tags
In order to get started, you have to first remove all the existing gadgets from Blogger. You have to do it yourself (Simply edit the gadget & click on Remove).
Once you have removed all the existing widgets from sidebar, we can proceed ahead to add our desired widgets.
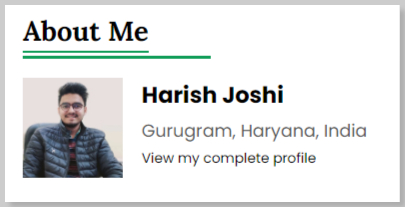
01. About Me Widget
An About Me section displays information about you. It shows information like your name, profile picture, location & a link to view your complete profile.
In order to add this widget, you have to follow these steps:
1. Click on Add a Gadget.
2. Select Profile.
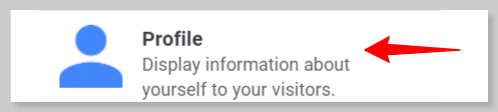
3. Click on “Show About Me” & “Show Location“
4. Finally hit Save.
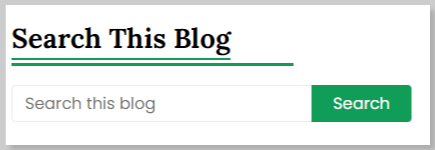
02. Search Widget
We can add the Search widget the same way we have added other widgets.
All you have to do is:
1. Click on Add a Gadget.
2. Select “Blog Search“
3. Hit Save.
03. Most Popular Posts Widget
For showing most popular posts, we have to do it same way as we have done it in case of footer.
Add a gadget & click on Popular Posts. Now customize according to your needs & hit save.
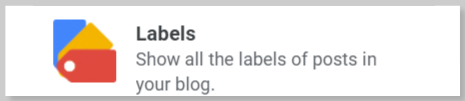
04. Categories & Tags
Adding Categories & tags is again quite simple. You just have to add the Labels gadget in the Blogger sidebar.
Further, you can show the labels in list or cloud format & also choose to show only selected labels.
This is it. If you want, you can add more gadgets in your Blogger sidebar using the Layout options.
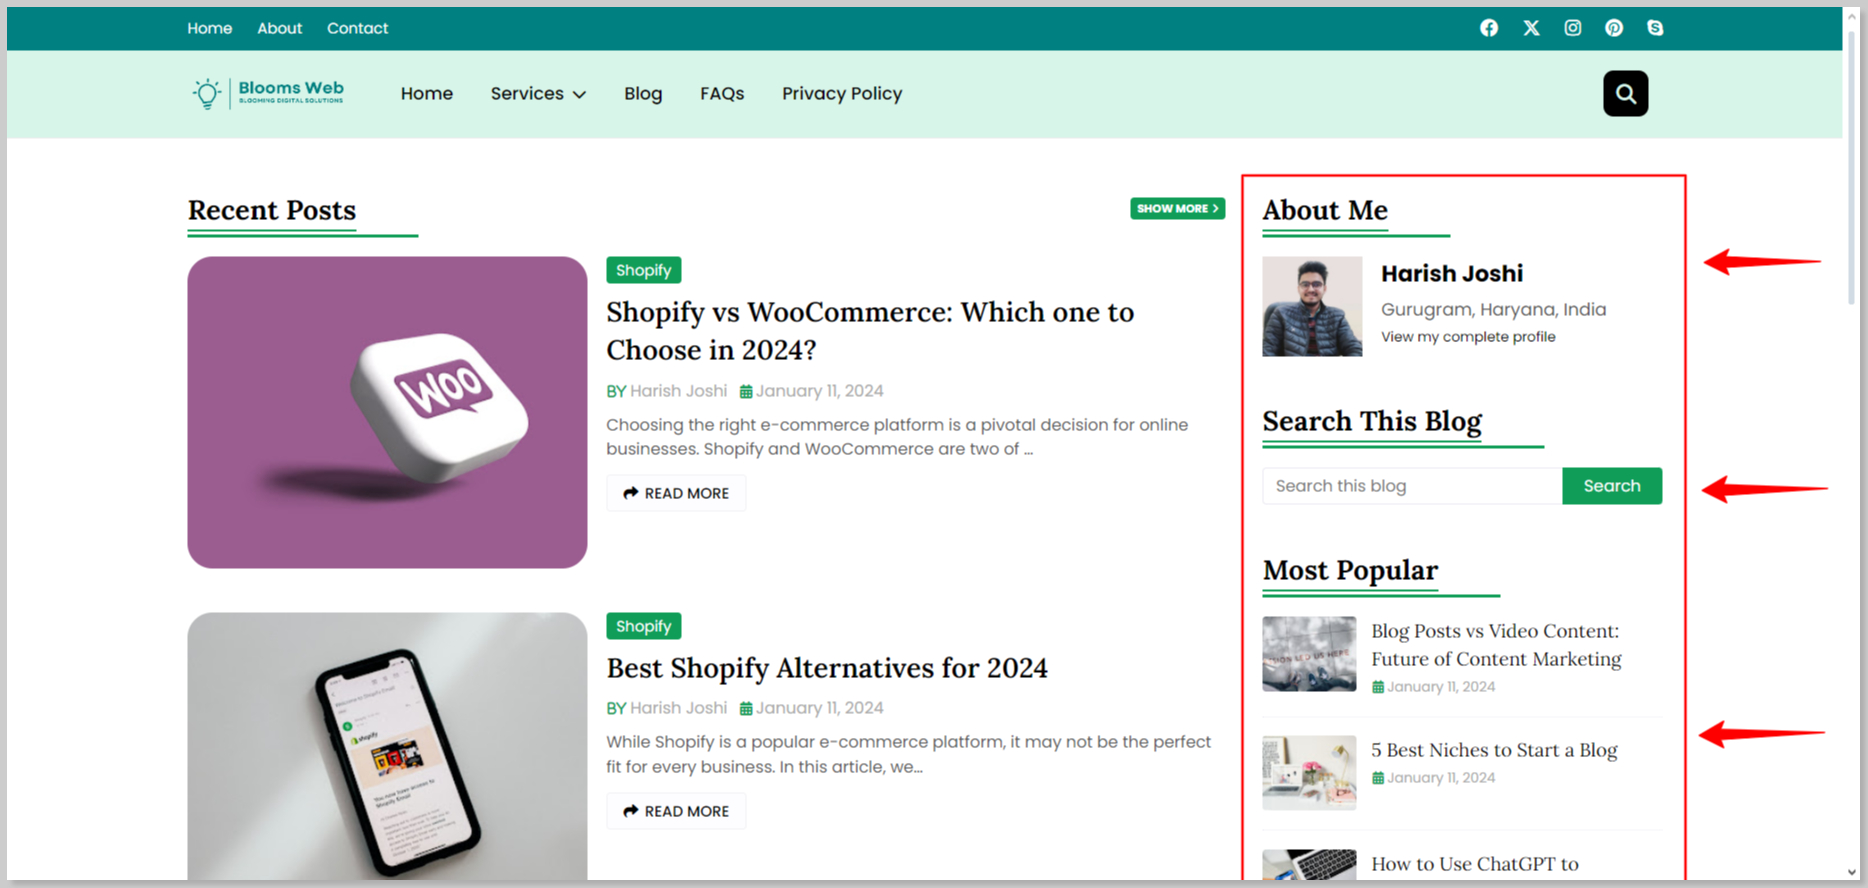
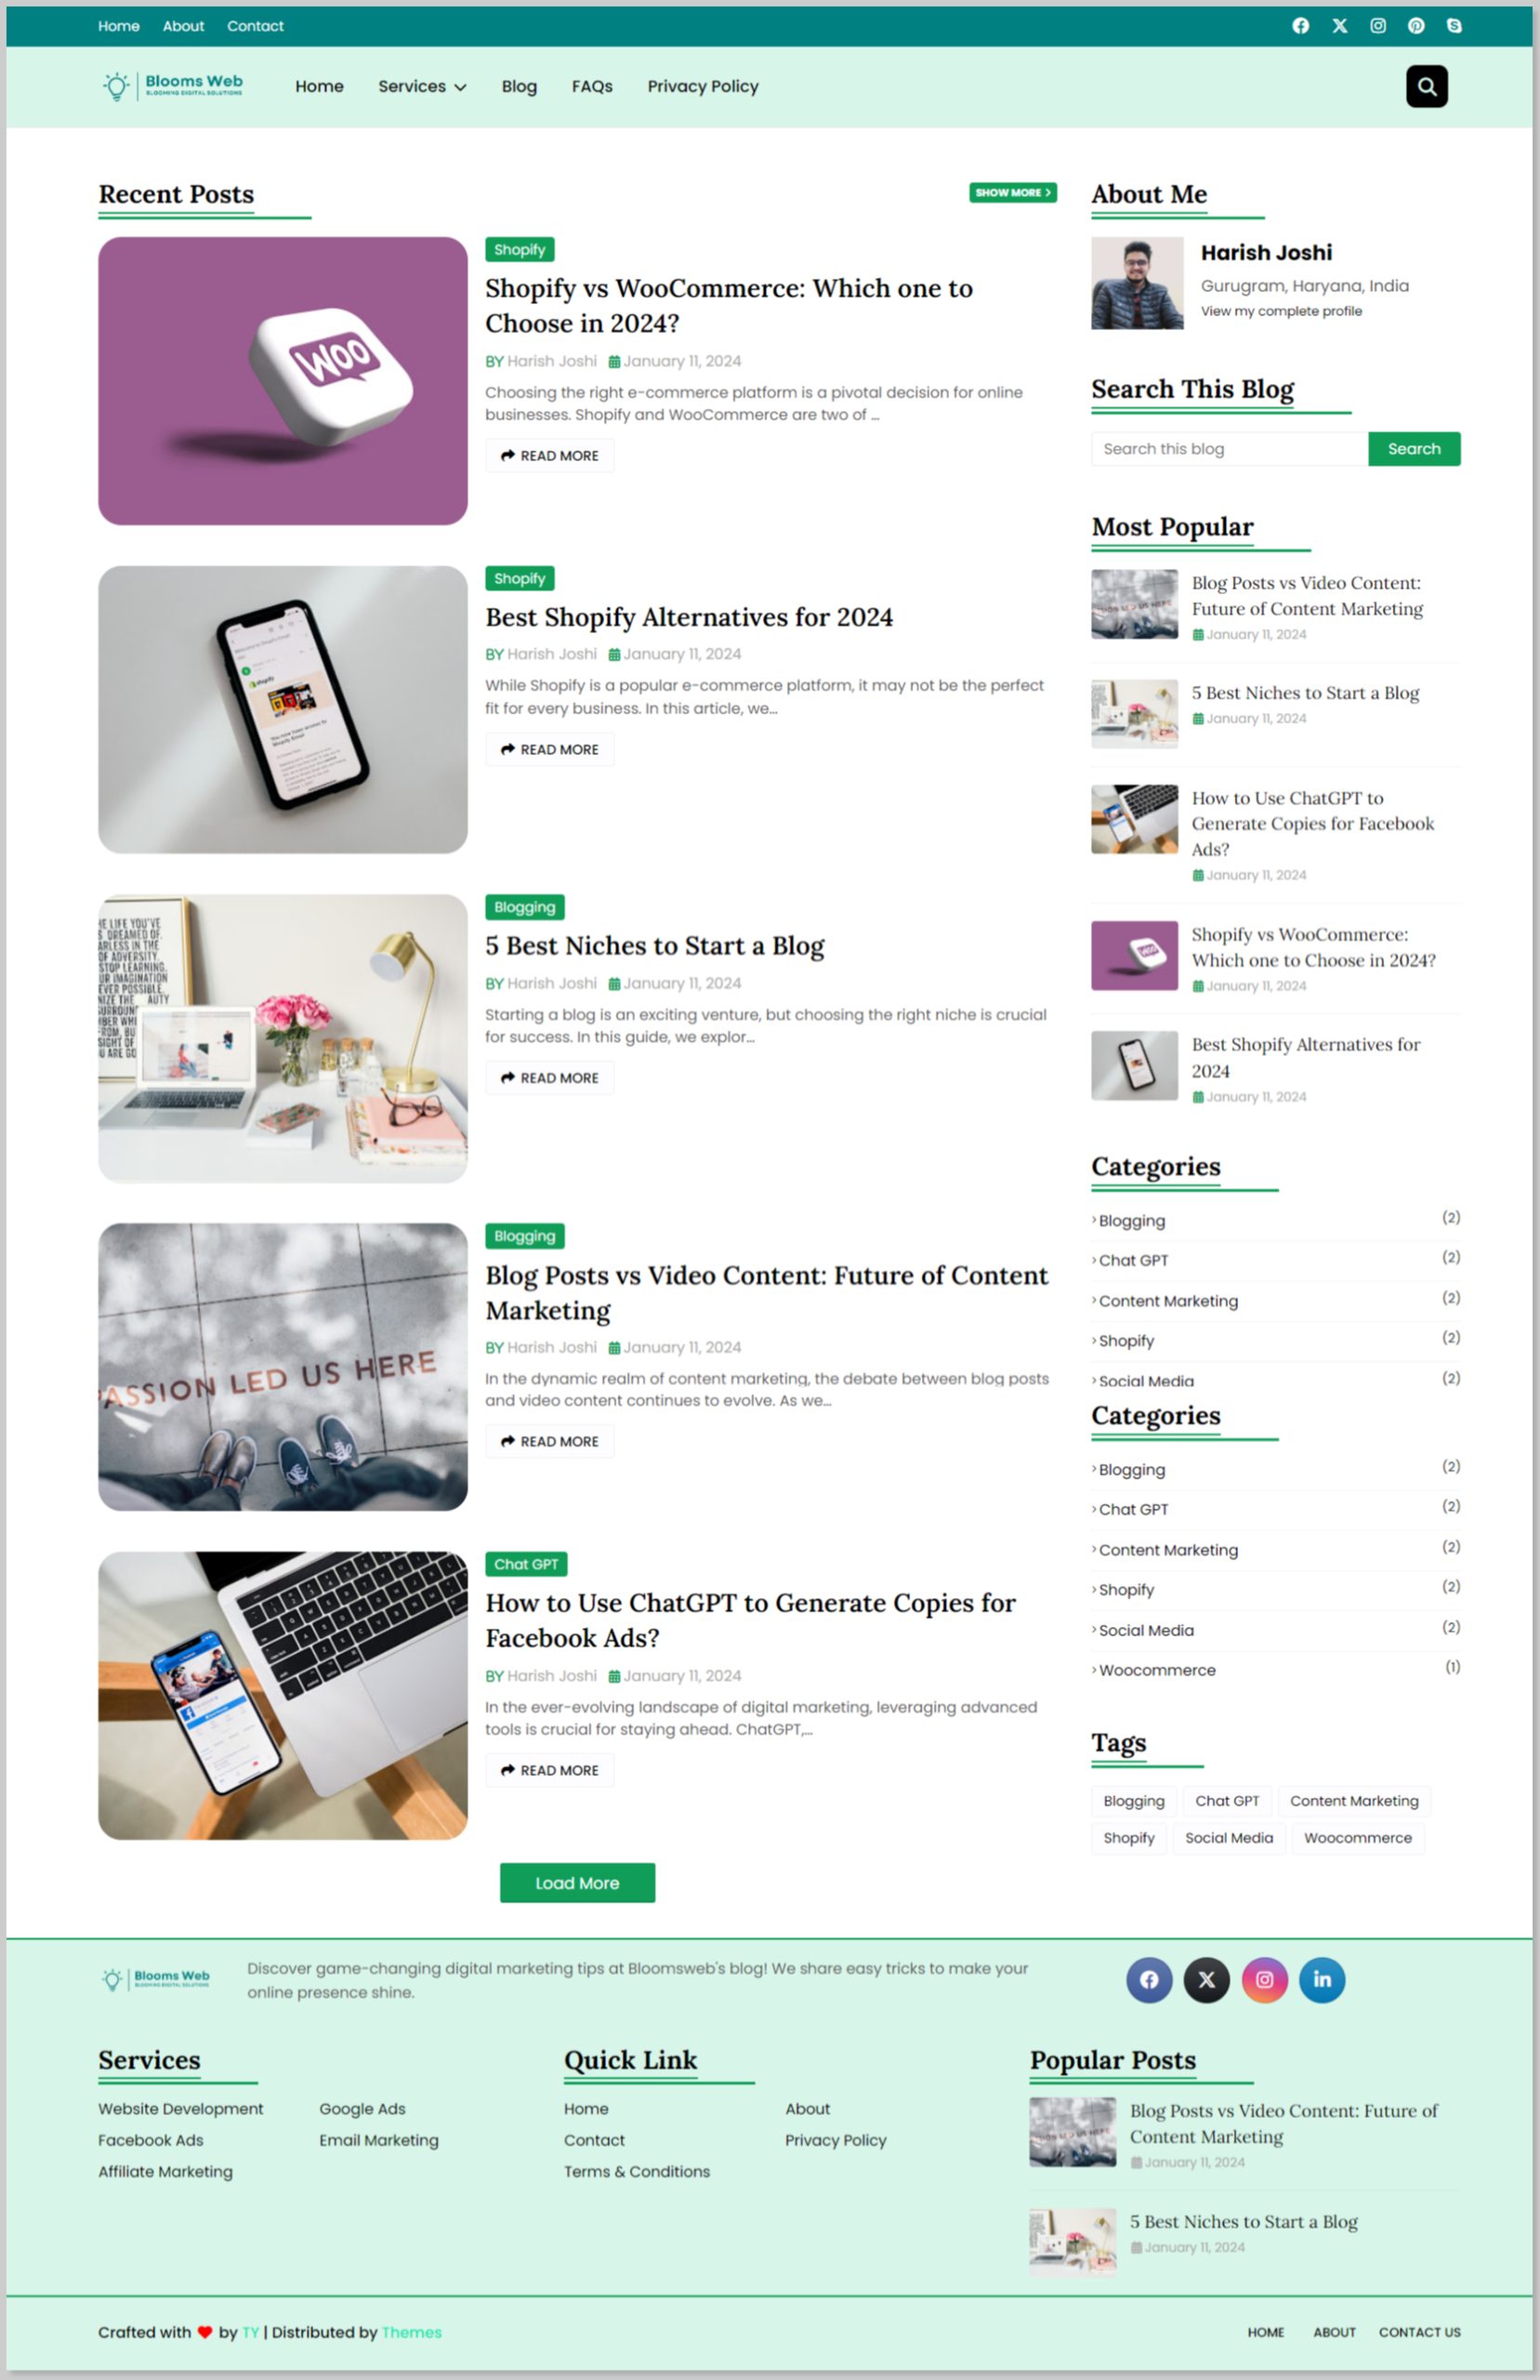
After Customization
Here is how our blog looks after customization. You can compare it with the before customization screenshot shared at the start of the blog post.
FAQS
By customizing the template or theme of your Blogger blog, you can give it a professional appearance. This will help you build trust among your readers and encourage them to stay longer on your blog.
It’s always a good idea to back up your Blogger blog before making any significant changes. To back up your current theme, go to Blogger >> Theme >> Customize (Menu) >> Backup.
In Blogger, the terms “gadget” and “widget” are often used interchangeably. They both refer to customizable elements you can add to your blog, such as social media buttons, subscription forms, or page lists.
It’s not mandatory to have coding language in order to customize a Blogger template. However, basic HTML and CSS knowledge can be helpful.
Yes, you can add custom HTML, CSS, or JavaScript code to your template. In the Template section, find the “Edit HTML” option to access the code editor.
Final Words
In this blog post, I’ve shared a step-by-step guide on how to customize blogger template extensively.
However, covering the entire customization in a single blog post isn’t feasible. If we take that approach, it could become boring, and many of you might skip it.
To help you better, I’ll create separate blog posts for additional customizations, such as changing the footer copyright text, adding a favicon, incorporating social media icons into Blogger, etc.
If you found this post helpful, please leave your valuable comments and share it with your fellow bloggers.
Customize More – Check out these tutorials: